


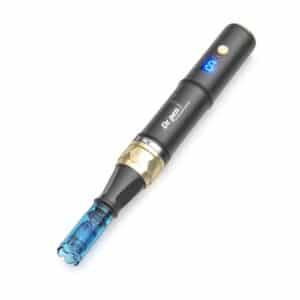
BIO6 Aurora Hair Growth Stamp — The Professional Hair Restoration Revolution
Pioneering Quad-Action Hair Help Refresh Technology
Microneedle • Vibration • EMS • Dual-Light — 4 Technologies, 1 Powerful Solution
Why BIO6?
Salon-Grade Performance, Home-Device Convenience
Say goodbye to surface-level solutions. BIO6 combines Advanced Photo-Electric Infusion Technology with medical-grade microneedling to target hair loss at its root—literally.
For Thinning Hair & Receding Hairlines
For Postpartum & Stress-Related Shedding
For Aging Scalp & Weak Follicles
The 4-Step Professional Treatment
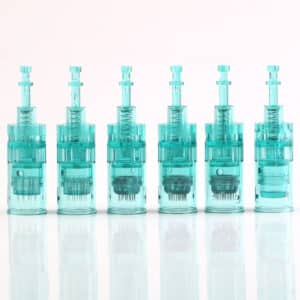
Step 01 — Microneedle Channel Opening
*Gold-standard 140 stainless steel microneedles create precise micro-channels.*
→ Delivers nutrients directly to follicle roots.
→ Prepares scalp for deep absorption.
Step 02 — EMS Hair Growth Microcurrent
*5-level adjustable microcurrent revitalizes dormant follicles.*
→ Stimulates cellular renewal.
→ Boosts collagen and circulation.
Step 03 — Multi-Frequency Vibration Massage
Intelligent vibration drives active ingredients deeper.
→ Relaxes scalp, reduces tension.
→ Maximizes serum penetration.
Step 04 — Red & Blue Light Therapy
Dual-light system improves scalp environment.
→ Red Light boosts elasticity & radiance.
→ Blue Light calms irritation & balances oil.
How to Use a Derma Stamp
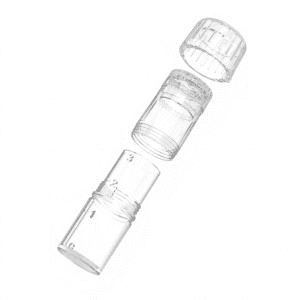
Step 1: Choose and Set the Needle Depth
Select the needle length that suits your treatment area, then adjust the depth using the dial on your derma stamp.
Step 2: Disinfect Your Derma Stamp
Soak the derma stamp in 70% isopropyl alcohol for 5–10 minutes to sterilize it before use.
Step 3: Cleanse Your Skin
Double cleanse the skin, remove any makeup dirt and oil, then wash your face thoroughly with a gentle cleanser to ensure skin is clean. This helps reduce the risk of bacteria transferring to the skin during treatment.
Step 4: Begin Stamping
Gently press the derma stamp into the area you want to treat, working in small sections.
Do not overstamp the same area.
Apply a serum, suitable to target the skin concerns you wish to address.
Maintain a consistent pressure and pace for optimal results.
Step 5: Rinse Your Skin
After stamping, rinse the area with clean water.
Step 6: Apply Serum
Apply a serum to take advantage of the open micro-channels. Choose one that’s hydrating and soothing—hyaluronic acid is a great option. Lock in the skincare with a soothing sheet mask.
Step 7: Clean and Store the Derma Stamp
Wash the stamp with unscented soap.
Disinfect it again by soaking in 70% isopropyl alcohol for 10 minutes.
Dry and place it back in its case, storing it in a clean, dry area.
Step 8: Post-Treatment Skincare
Stick to a simple, soothing skincare routine after treatment:
Avoid harsh ingredients like retinoids, AHAs/BHAs, salicylic acid, or benzoyl peroxide.
Use a gentle cleanser and a nourishing moisturiser to support skin recovery.
Important Note:
Inspect the needles before each use. Replace the derma stamp once the needles feel dull—typically after around 10 uses.


Reviews
There are no reviews yet.